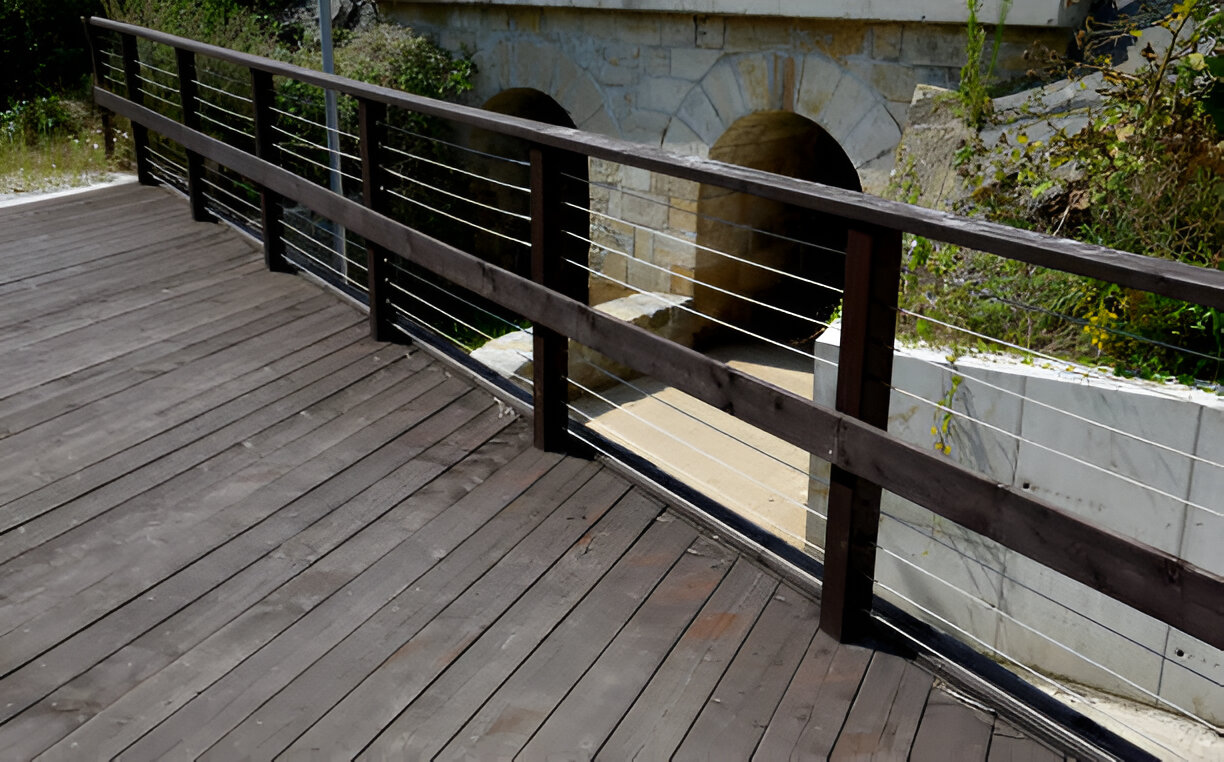
A deck is more than just an extension of your home; it’s a place where you can relax, entertain, and enjoy the outdoors. Safety and aesthetics are paramount when designing and constructing a deck, and one popular solution that combines both is cable railing. Cable railings offer a sleek, modern look while providing unobstructed views and excellent durability. This step-by-step guide will walk you through the process of installing cable railing for your deck, ensuring both functionality and style.
Step 1: Planning and Preparation
Assess Your Deck: Start by assessing your deck’s layout and measuring the area where you plan to install the cable railing. Determine the total linear footage of the railing and the number of posts required. The spacing between posts is typically around 4 to 5 feet, but always check local building codes for specific requirements.
Choose Materials: Cable railing systems are available in a variety of materials including stainless steel, aluminum, and composite. Stainless steel is the most popular choice due to its strength, corrosion resistance, and low maintenance. Decide on the style and finish that best complements your deck and home.
Gather Tools and Materials: Before beginning, gather all necessary tools and materials. You will need:
- Cable railing kit (including cables, fittings, and hardware)
- Posts and top rails
- Drill and bits
- Cable cutters
- Wrenches
- Level
- Tape measure
- Safety gear (gloves, goggles)
Step 2: Install Posts
Mark Post Locations: Using a tape measure and chalk, mark the locations for your posts along the edge of the deck. Ensure the spacing is consistent and aligns with your plan.
Attach Posts: Begin by installing the corner and end posts, as they will provide the foundation for the rest of the railing. Secure the posts to the deck using appropriate hardware. Ensure they are plumb and level before fully tightening the screws. Once the corner and end posts are in place, install the intermediate posts, maintaining the same spacing.
Check Stability: After all posts are installed, check their stability. They should be firmly attached with no wobbling. Adjust as necessary to ensure a solid base for the cable railing.
Step 3: Install Top Rail
Measure and Cut Top Rail: Measure the distance between the posts to determine the length of the top rail. Cut the top rail to size using a saw suitable for your material.
Attach Top Rail: Position the top rail on top of the posts and secure it using screws or brackets provided in your railing kit. Make sure it is level and aligned with the posts.
Step 4: Install Cable
Drill Holes for Cable: Depending on your chosen cable railing system, you may need to drill holes through the posts to run the cables. Measure and mark the locations for the holes, ensuring they are evenly spaced. Use a drill bit that matches the diameter of your cables.
Thread the Cable: Starting from one end post, thread the cable through the drilled holes. Pull the cable tight as you go to prevent sagging. For longer spans, you may need to use a turnbuckle or tensioner to maintain the cable’s tension.
Attach Cable Fittings: Secure the cable ends with the fittings provided in your cable railing kit. These fittings typically include a combination of swage fittings, tensioners, and anchors. Follow the manufacturer’s instructions for proper installation.
Tension the Cable: Use a wrench to tighten the tensioners, ensuring the cables are taut. Check the tension regularly and adjust as needed to maintain a uniform appearance.
Step 5: Finishing Touches
Trim Excess Cable: Once all the cables are installed and tensioned, trim any excess cable using cable cutters. Be careful to leave a small amount of slack to accommodate any future adjustments.
Inspect and Test: Conduct a thorough inspection of your cable railing to ensure all components are securely fastened and the cables are properly tensioned. Test the railing by applying gentle pressure to ensure it is stable and secure.
Clean and Maintain: Clean the railing to remove any fingerprints or debris. Regularly inspect the cable railing for signs of wear or damage, and perform maintenance as needed to keep it in optimal condition.
Tips and Considerations
Follow Local Building Codes: Always check your local building codes before installing a cable railing system. Codes may vary based on location and can affect the design and installation requirements.
Safety First: Wear appropriate safety gear, including gloves and goggles, when handling tools and materials. Work carefully and methodically to avoid accidents.
Quality Materials: Invest in high-quality materials for your cable railing system. While they may be more expensive initially, they will provide better durability and require less maintenance over time.
Professional Help: If you are unsure about any aspect of the installation process, consider hiring a professional. They can ensure the railing is installed correctly and meets all safety standards.
Regular Maintenance: Although cable railings are low-maintenance, they still require occasional upkeep. Regularly inspect the cables and fittings, clean the surfaces, and adjust the tension as needed to maintain their appearance and functionality.
Conclusion
Installing a cable railing for your deck is a rewarding project that enhances both the safety and aesthetics of your outdoor space. By following this step-by-step guide, you can achieve a professional-looking result that provides unobstructed views and a modern design. Remember to plan carefully, use quality materials, and prioritize safety throughout the process. With a little effort and attention to detail, you can create a stunning cable railing system that will last for years to come, making your deck a favorite spot for relaxation and entertainment.